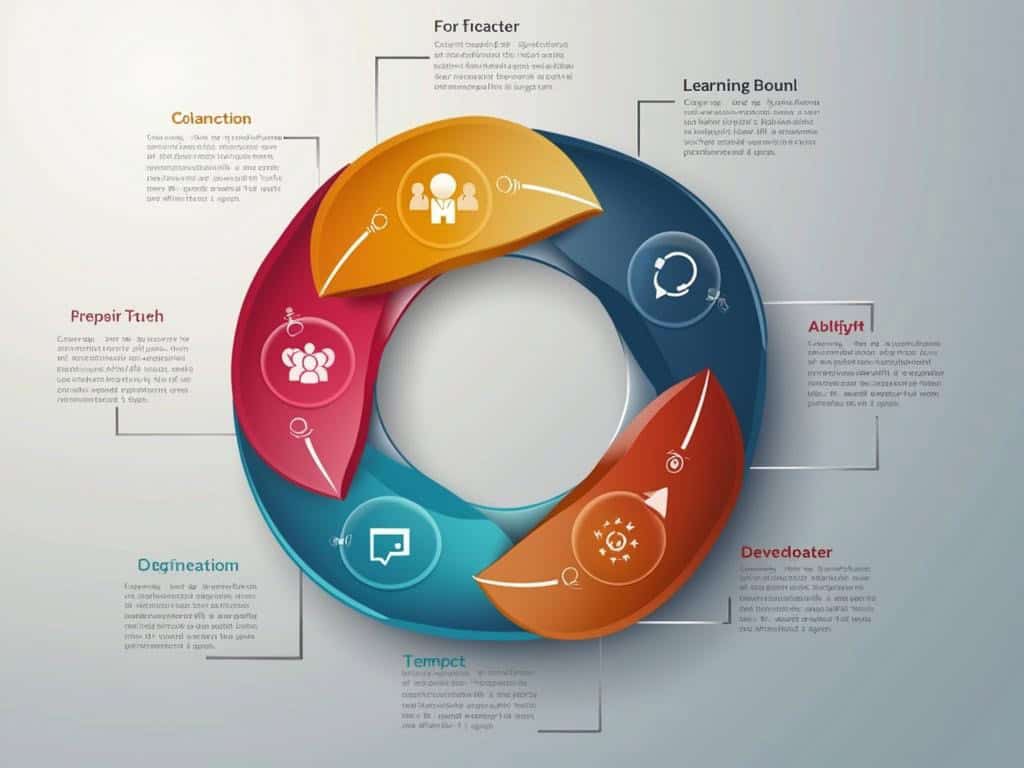
Understanding Circular Process Diagrams
A circular process diagram shows continuous workflows or cyclical procedures in a circular format with arrows indicating flow direction. These visuals effectively communicate repeating processes, helping viewers grasp complex procedural relationships through divided segments, color-coding, and clear labels that guide you through each stage.
How Circular Process Diagrams Drive Business Efficiency
Circular process diagrams convert complex business workflows into intuitive visual representations that enhance team alignment and boost operational efficiency. When created properly, these diagrams help you spot bottlenecks, redundancies, and areas for improvement within cyclical business processes. They’re valuable tools for continuous improvement initiatives and customer journey mapping. Both executives and teams benefit from the shared visual language these diagrams provide, which clarifies responsibilities, improves communication, and speeds up decision-making across departments.
These diagrams offer particular advantages for organizations with recurring processes. They’re easy to follow since they present information in a natural, flowing manner that mirrors how many business operations actually function. The circular format also saves space compared to linear diagrams while emphasizing the ongoing nature of many business activities.
Using color-coding and consistent iconography in your circular process diagrams can further increase comprehension and retention. This makes them excellent tools for training new team members and aligning cross-functional groups on complex procedures.
Creating an Effective Circular Process Diagram
Creating an effective circular process diagram doesn’t have to be complicated. This powerful visualization tool helps you display continuous workflows, cyclical procedures, and recurring business operations with clarity and precision. Your audience will immediately grasp the sequential flow and relationships between steps thanks to the intuitive circular format.
Business professionals rely on circular process diagrams to showcase everything from quality management systems to product development lifecycles. The circular arrangement naturally communicates that processes don’t simply end but continue repeating—perfect for illustrating continuous improvement initiatives or ongoing operations.
You’ll find circular process diagrams particularly useful when explaining feedback loops, iterative workflows, or any procedure that returns to its starting point. Their effectiveness comes from providing instant visual cues about process sequence while maintaining the focus on continuity.
With the right approach to design and content, your circular process diagram can transform complex information into an accessible visual that resonates with both novices and experts alike. The circular format eliminates confusion about where processes begin and end, making it easier for teams to follow and implement the represented workflow.
1. Planning Your Circular Process Diagram
Before creating a circular process diagram, you need a solid plan. Start by defining each step in your process flow, ensuring you capture the complete cycle. A circular process diagram works best when representing continuous workflows or cyclical procedures. Determine how many segments your diagram will require based on the number of distinct steps.
Gather all relevant information for each step in your process, including descriptions, duration, responsible parties, and dependencies. This preparation ensures your circular process diagram will accurately represent the entire workflow without missing critical elements.
Choose an appropriate color scheme and visual style that aligns with your brand or presentation needs. Colors can help differentiate stages or indicate priority levels within your circular process diagram. Consider strategic planning techniques to ensure your diagram effectively communicates your process.
Finally, select the right software tool for creating your diagram. Options range from dedicated diagramming software like Lucidchart or Microsoft Visio to presentation tools like PowerPoint or design applications like Adobe Illustrator. Choose based on your technical comfort level and the complexity of your circular process diagram.
2. Creating the Base Structure
When designing a circular process diagram, establishing a solid foundation is crucial for clear visual communication. Start by drawing the main circle that will serve as the outer boundary of your diagram. This circle forms the backbone of your circular process diagram and determines its overall size and proportion.
Next, divide your circle into equal segments based on the number of process steps you’ve identified. Using guides or measurement tools ensures each segment has identical dimensions, creating a balanced visual appearance. For complex processes, consider utilizing project delivery frameworks to guide your segmentation strategy.
Add connecting arrows between segments to indicate flow direction. These arrows should clearly show how one step leads to another in your circular process diagram. Maintain consistent spacing between all elements to create a professional appearance and prevent visual clutter.
Finally, establish a hierarchy of elements by determining which components need visual emphasis. This might include:
- Primary process steps with larger segments
- Secondary steps with smaller segments
- Supporting information in the center or outer ring
- Decision points highlighted with distinct shapes
Expert Insight: Begin your circular process diagram by establishing a solid main circle as the foundation, then divide it into equal segments for clarity. Add connecting arrows to indicate flow direction and maintain consistent spacing. Prioritize hierarchy by emphasizing primary steps visually to enhance understanding and engagement.
3. Adding Content to Your Circular Process Diagram
When enhancing your circular process diagram with content, focus on clarity and consistency. Your circular process diagram needs concise information that guides viewers through each step logically. Begin by writing clear step descriptions that explain each segment’s purpose without overwhelming the diagram with text.
Insert concise labels that immediately identify each segment in your circular process diagram. Use action verbs when possible to emphasize the dynamic nature of the process. Consider these approaches for effective labeling:
- Position labels consistently within each segment
- Use a readable font size (12-14pt minimum)
- Keep labels to 1-3 words when possible
- Use consistent grammatical structure across all labels
Add icons or symbols to improve project collaboration and comprehension. Visual elements make your circular process diagram more intuitive and help viewers quickly identify each step’s purpose. Include directional indicators like arrows to clearly show the flow between steps, reinforcing the cyclical nature of the process.
Format text consistently throughout the diagram to maintain a professional appearance. Establish a hierarchy using font weights and sizes to distinguish between primary steps and supporting information in your circular process diagram.
Expert Insight: When adding content to your circular process diagram, prioritize clarity through concise step descriptions and consistent labeling. Use action verbs and maintain a uniform text format to enhance readability. Incorporate icons, symbols, and directional indicators to improve comprehension and visually reinforce the cyclical process flow.
4. Styling the Diagram
When enhancing your circular process diagram, applying the right visual elements makes your information more accessible and engaging. Choose a color scheme that aligns with your brand or subject matter, applying colors consistently to indicate related segments within your circular process diagram. Consider using complementary colors for contrast or sequential tones to show progression.
Adjust line weights strategically in your circular process diagram to establish visual hierarchy. Make primary flow lines thicker (1.5-2pt) while keeping secondary connections thinner (0.75-1pt). This technique naturally guides viewers through the process flow visualization without overwhelming them.
Format text styles consistently throughout your circular process diagram. Select readable fonts (like Arial or Calibri) at appropriate sizes (10-12pt for details, 14-16pt for section headings). Apply bold formatting sparingly to emphasize key points.
Create visual hierarchy by:
- Using size differentiation for primary vs. secondary elements
- Applying subtle shadows to lift important segments
- Incorporating white space between components
Maintain consistent spacing between all elements in your circular process diagram to create a professional appearance. Equal distances between segments and uniform margins around text boxes help viewers process information more effectively.
Expert Insight: To enhance your circular process diagram, use a cohesive color scheme that reflects your brand, adjust line weights to establish hierarchy, and format text consistently for clarity. Incorporate size differentiation and adequate white space to guide the viewer’s eye and improve information processing.
5. Reviewing and Refining Your Circular Process Diagram
The final step in creating an effective circular process diagram involves careful review and refinement. Your circular process diagram needs thorough evaluation before finalization to ensure it communicates effectively. Begin by checking the flow logic throughout the diagram—verify that each step naturally leads to the next and that the circular nature of the process is apparent.
Next, carefully verify all connections between segments. Each arrow should point in the correct direction, and the relationship between steps should be clearly indicated. Missing or incorrect connections can significantly impact how users understand your circular process diagram.
Test the readability of your diagram by asking someone unfamiliar with the process to interpret it. This active listening feedback can highlight areas where clarity is lacking.
Consider these additional refinement points:
- Adjust sizing of elements for visual balance
- Ensure text is readable at intended viewing sizes
- Check color contrast for accessibility
- Confirm consistency in styling across all segments
Finally, export your circular process diagram in the appropriate format based on how it will be used. Vector formats like SVG or PDF work best for project communication materials that may need resizing, while PNG is suitable for digital presentations.
Expert Insight: To create an effective circular process diagram, review flow logic and ensure all connections are accurate. Test readability with unfamiliar users to identify clarity issues, and refine elements for visual balance and accessibility. Finally, export in suitable formats for optimal use in communication materials.
Mastering Circular Process Diagrams: Essential Techniques for Clarity
A circular process diagram is a visual tool that effectively represents continuous workflows and cyclical procedures by arranging steps in a circular format with directional arrows indicating flow. Creating effective circular process diagrams requires systematic planning, thoughtful design, clear content presentation, appropriate styling, and thorough review to ensure the diagram accurately communicates complex processes while maintaining visual appeal and readability.
10 Steps to Create Professional Circular Process Diagrams
- Define each step in your process flow, ensuring you capture the complete cycle
- Gather all relevant information including descriptions, duration, and dependencies
- Select appropriate software based on technical comfort and diagram complexity
- Draw the main circle as the foundation and divide it into equal segments
- Add connecting arrows to clearly indicate flow direction between segments
- Write concise labels using action verbs to identify each segment
- Include icons or symbols to improve intuitive comprehension
- Apply a consistent color scheme that aligns with your brand identity
- Establish visual hierarchy through strategic line weights and text formatting
- Test readability with unfamiliar users and refine based on feedback
Common Questions About Circular Process Diagrams
- When should I use a circular process diagram instead of a linear flowchart? Circular process diagrams are ideal for continuous workflows or cyclical procedures where the process repeats, while linear flowcharts better represent processes with clear start and end points.
- What software is best for creating circular process diagrams? Popular options include dedicated diagramming tools like Lucidchart or Microsoft Visio, presentation software like PowerPoint, or design applications like Adobe Illustrator. Choose based on your technical comfort level and diagram complexity.
- How many steps should a circular process diagram contain? For optimal clarity, limit your circular process diagram to 5-8 main steps. If your process has more steps, consider grouping related activities or creating multiple interconnected diagrams.
- What colors work best for circular process diagrams? Choose colors that align with your brand while ensuring sufficient contrast between adjacent segments. Consider using complementary colors for contrast or sequential tones to show progression.
- How can I ensure my circular process diagram is accessible? Use high color contrast, maintain readable font sizes (minimum 12pt), include clear directional indicators, and consider adding text descriptions for complex visual elements.
- Should I include detailed text in each segment? Keep segment labels concise (1-3 words) and use action verbs when possible. If additional details are necessary, consider adding them in a legend or supporting documentation.


